Hacked: Named Helmi and Alexandria
The end of summer is upon us! My work starts up again in early August, which always feels like "back to school" to me. And since I have very fond memories of back to school shopping, I enjoy making something that fulfills the same desire for fresh and new with the start of a new season. This year's back to work outfit is brought to you by two of my favourite patterns from Named. I used these tried and true workhorses to make my sewing dreams a reality.

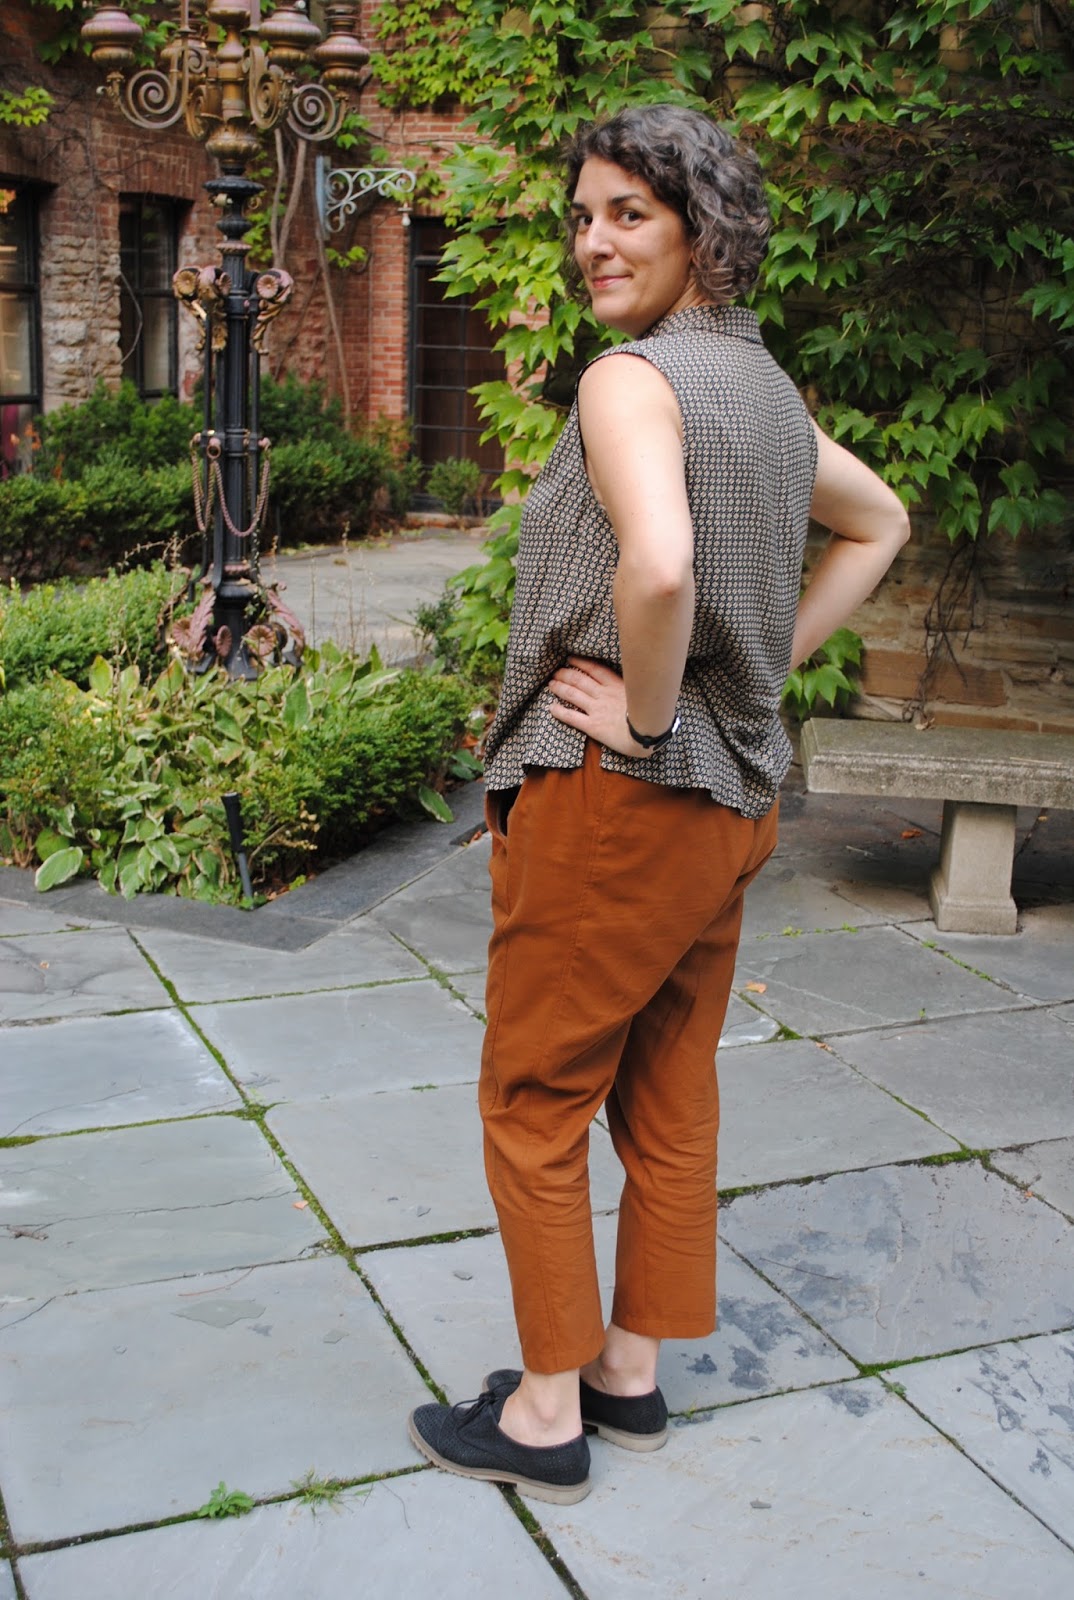
This is only my second time around with the Helmi pattern, but it was a winner from the get go. This version is a bit of a pattern hack, but not too tricky. It's the trench blouse, less the cape and sleeves, plus the horizontal seam of the tunic. I was impatient, so I didn't correct the armhole at all, I could have raised it just a bit at the front and scooped a bit out over the front shoulder, but it's not very noticeable, either visually or in wearing.
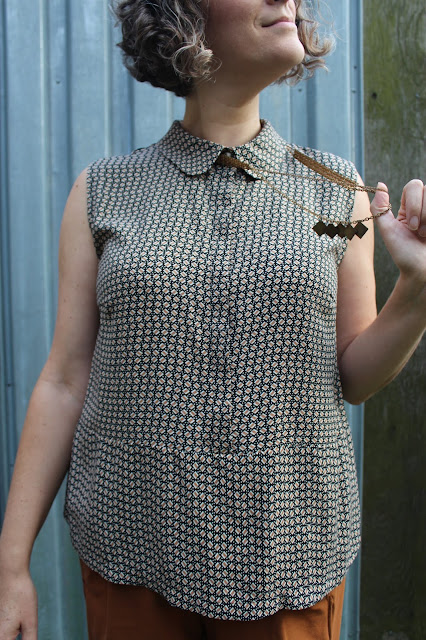
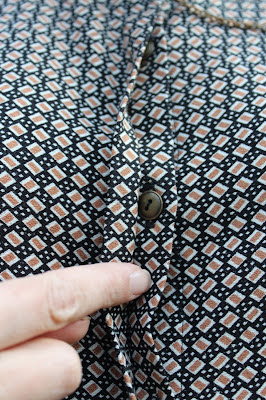
The fabric is a piece I picked up in Stockholm two years ago when visiting one of my good friends from university. I loved it, but only bought 1 metre! I think it's a rayon crepe, it has a beautiful drape and hand. My first though was to make a boxy sleeveless woven top, but I really thought the diamond pattern suited the style lines of the Helmi blouse. I had hoped to make armhole facings, but there just wasn't enough fabric left, so I went with purchased black bias tape. As for buttons, I used the same ones as my Helmi dress - I just really like them.
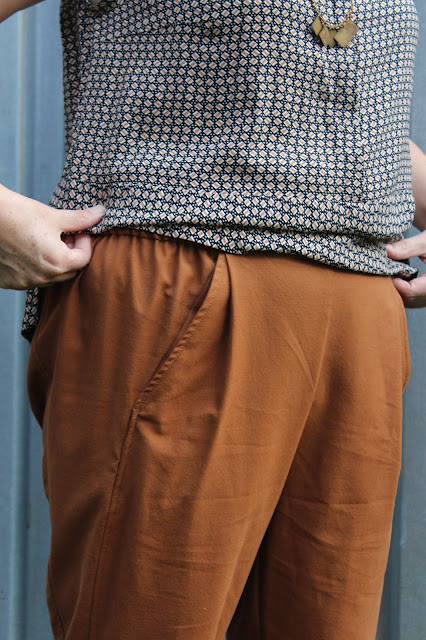
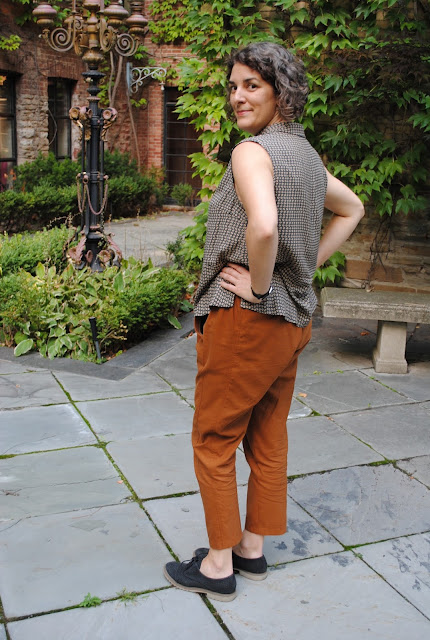
The pants were a bit more work. If you've been keeping track, you may have noticed a strikingly similar pair here and here. They're from Zara, circa 2014, I think. I love the colour, the general shape, and the cool pockets. I've never loved the slightly too low for me rise, and they could be a bit wider at the calf, and a bit longer. Solution? Make my own! Using the Alexandria pattern as my base, I made a three piece leg, and changed the front pocket style. I also made a flat front waistband, which extends across to the side front seam. This is the fourth time I've made this pattern, it's a keeper!

This is only my second time around with the Helmi pattern, but it was a winner from the get go. This version is a bit of a pattern hack, but not too tricky. It's the trench blouse, less the cape and sleeves, plus the horizontal seam of the tunic. I was impatient, so I didn't correct the armhole at all, I could have raised it just a bit at the front and scooped a bit out over the front shoulder, but it's not very noticeable, either visually or in wearing.

The fabric is a piece I picked up in Stockholm two years ago when visiting one of my good friends from university. I loved it, but only bought 1 metre! I think it's a rayon crepe, it has a beautiful drape and hand. My first though was to make a boxy sleeveless woven top, but I really thought the diamond pattern suited the style lines of the Helmi blouse. I had hoped to make armhole facings, but there just wasn't enough fabric left, so I went with purchased black bias tape. As for buttons, I used the same ones as my Helmi dress - I just really like them.

The pants were a bit more work. If you've been keeping track, you may have noticed a strikingly similar pair here and here. They're from Zara, circa 2014, I think. I love the colour, the general shape, and the cool pockets. I've never loved the slightly too low for me rise, and they could be a bit wider at the calf, and a bit longer. Solution? Make my own! Using the Alexandria pattern as my base, I made a three piece leg, and changed the front pocket style. I also made a flat front waistband, which extends across to the side front seam. This is the fourth time I've made this pattern, it's a keeper!

I failed to add to the side front pocket opening, and didn't notice until the waistband was on, which meant that the lining was visible. This resulted in an unpicking session and some finagling to add a facing instead. Live and learn! Now that I've worn them a few times, I do have a few changes for next time, as well as adding a grown on pocket facing. I'll straighten and narrow the side panel above the knee, and widen the centre front so that the pockets are further apart. But I'm happy to report that the height of the rise and width of the calf are spot on!
Hope everyone is enjoying some back to school sewing, even if your school days are behind you!

Comments
Post a Comment